

From Toy Cameras to Timeless Memories: How It All Began
If you’ve ever found yourself wondering how to become a photographer, or if you’ve been holding onto a dream of turning your passion into a career, this blog shares the story of how it all started for me—and what I’ve learned along the way. Growing up in Los Angeles, I was surrounded by creativity from an early age. One of my earliest memories is playing with my dad’s camera when I was just 2 or 3 years old, pretending it was a toy. I had no idea that moment would become the foundation for everything I do now.
Later, after our family moved more inland, my dad opened his first photo studio in San Bernardino. That studio became a second home for me. I watched, learned, and eventually helped—from holding reflectors to organizing gear. Being around photography shaped the way I saw the world and planted the seed for what would later grow into a full-time business.
In this blog, I take you through my personal journey—from my first Sony digital camera that never left my side, to upgrading to a Canon 6D where I learned the fundamentals through trial, error, and a few good classes. Today, I shoot professionally with a Sony A7 and a Sigma Art 24-70mm lens, capturing families, couples, and moments throughout Temecula, Riverside County, San Diego, and Los Angeles.
But more than gear or technique, I share what really matters: investing in yourself. I break down why the best way to grow isn’t always through new equipment—it’s through consistent practice, studying the work of photographers you admire, recreating images for learning, and building skills beyond photography itself. Because along the way, you’ll pick up communication, networking, business management, marketing, and the confidence to step into your role not just as a photographer—but as an artist and entrepreneur.
Whether you're a creative soul from Orange County dreaming of getting into photography, a traveler visiting Temecula wine country looking to document your trip, or someone from Los Angeles who’s always loved taking pictures but never knew where to begin—this story is a reminder that your journey doesn’t have to be perfect. You just have to begin. It’s not about the destination or even the camera you use—it’s about the person you become along the way.
The number one question I get asked—besides “how much do you charge?”—is:
“How did you become a photographer?”
So I wanted to write this blog, not just to answer that, but in hopes that it helps someone out there who’s just getting started or dreaming of becoming a photographer, too.
For me, it started way before I ever considered it a career. I was just 2 or 3 years old when I picked up my first camera. It wasn’t mine—it belonged to my dad, who was a photographer. He always had cameras lying around, and one of my earliest memories is playing with one like it was a toy. I had no clue how to use it, but something about it felt powerful—even magical.
As I got older, I started helping out at my dad’s photo studio in San Bernardino. I’d run errands, hold gear, and just be around it all. I didn’t realize it then, but those early experiences were shaping the way I saw the world—through light, expression, connection, and storytelling. Through a lens.
Trying to figure things out when you don’t even know the first step? Yeah—we remember that feeling. If you just need to pick someone’s brain or talk it through, we’re all ears and more than happy to help.
👉 Let’s Connect
The First Camera That Was Truly Mine
Eventually, I got my own camera—a little Sony digital camera I took everywhere. I snapped photos of sunsets, pets, food, friends, trees—anything and everything. I didn’t care about the settings; I just wanted to capture what I saw. That little camera taught me more than I realized at the time. It gave me permission to create.
Later, I saved up for my first “real” camera: a Canon 6D. That’s when I started taking photography seriously. I took classes, learned how to use light intentionally, studied angles and composition, and started figuring out how to make photos that not only looked good but felt like something.
Today, I shoot with a Sony A7 and my go-to lens, the Sigma Art 24–70mm. But what I’ve learned along the way is this: gear helps, but it’s never the whole story.
You Don’t Need Fancy Gear to Start
One of the biggest myths in photography is that you need expensive equipment to get going. It’s simply not true.
The best camera is the one you already have—yes, even your phone. Today’s phones are better than most point-and-shoot cameras from just ten years ago. And what really matters when you’re starting out isn’t megapixels or full-frame sensors—it’s your eye. It’s how you see the world and what you choose to share from it.
You don’t need to wait until you can afford the “best” gear. You just need to start creating with what you’ve got.

A collection of professional cameras symbolizing the journey of a dedicated photographer—reminder that growth in photography starts with small steps, consistency, and building strong creative habits.
7 Honest Tips for Aspiring Photographers
Whether you’re picking up a camera for the first time or reigniting an old passion, here’s some real, heart-to-heart advice I’d give anyone just starting out:
Start with what you have.
Use your phone. Borrow a camera. Don’t wait for perfect gear. The best way to improve is to start.Practice daily.
Capture the little moments—your coffee, your dog, sunlight through the window. The more you shoot, the more you’ll train your eye to see beauty in the ordinary.Invest in yourself—it’s the best investment you’ll ever make.
Take a class. Read photography books. Watch YouTube tutorials. Study your favorite photographers’ work and try to recreate the photos you love—not to copy them, but to learn how they were made. Growth starts with curiosity and commitment.Learn the basics.
Understand light. Master composition. Get comfortable adjusting your settings. The fundamentals will take you farther than any fancy equipment ever could.Stay curious.
Ask questions. Explore different styles. Experiment. When something catches your eye, shoot it—even if it doesn’t make sense yet. Curiosity is the spark behind creativity.Don’t rush to upgrade.
Use your current gear until it limits you. Expensive cameras don’t make you better—practice does. When you do upgrade, do it intentionally.Be patient with your style.
Everyone starts by mimicking what they admire. Over time, your own voice will come through. Don’t rush the process. Your style will evolve with you—and that’s a beautiful thing.
It’s Not Just the Photography That Grows—You Do, Too
Here’s something I wish more people told me when I started:
It’s not just about the photos. It’s about the person you become in the process.
When you commit to photography, you end up learning so much more than how to use a camera. You learn how to communicate with clients. How to handle pressure. How to manage your time, your brand, your business.
You learn how to sell your services, how to market yourself, how to create an experience that’s bigger than a photo. You become a storyteller, a creative, a problem solver, a small business owner.
It’s not just about the journey or the destination—it’s about the growth. The confidence you gain. The way you carry yourself. The skills you never expected to develop. That’s what makes it all worth it.
Final Thoughts
If there’s one thing I hope you take away from this, it’s this:
You don’t have to wait until you feel “ready.” You don’t need a perfect plan or the perfect gear. You just need to start. Messy, curious, and open to learning.
My journey started with a camera I didn’t know how to use and a heart full of wonder. I had no idea it would become my career, my creative outlet, and my connection to people around the world.
But it did—and if it can happen for me, it can happen for you.
So grab whatever camera you’ve got, and begin. Your story is already unfolding. Capture it.
And if you ever need someone to root for you—know that I am.
Let’s Connect
Got a creative idea you’ve been thinking about? Want to collaborate on a project together?
Leave a comment below and share what’s on your mind—let’s see if we can make it happen.
And if you have any questions about photography, getting started, gear, or just need someone to talk shop with, I’d be more than happy to answer.
Let’s grow together. 💬📸
Start Your Journey With Us Here

How to Find Great Photographers Near Me: A Complete Guide for Every Occasion
Searching for a professional photographer near you? This in-depth guide walks you through how to find the right local photographer for family portraits, engagements, branding shoots, or special events. Learn how to search effectively on Google, explore real portfolios on Instagram and TikTok, ask your community for trusted referrals, and evaluate photographer websites for style and transparency. Whether you're in Temecula, San Diego, Riverside, or Los Angeles, this guide is designed to help you confidently book a photographer who fits your vision.
📸 Photo Credit: Conor Luddy
Check out his latest work on Instagram: @opticonor
Looking for the best local photographer near you can feel overwhelming—especially when you're planning to capture a once-in-a-lifetime moment. Whether you're searching for a family photographer in your area, planning a surprise proposal, need a branding or content shoot, or want to celebrate a milestone birthday or anniversary, finding the right fit goes far beyond good lighting and a nice camera.
You want a photographer who not only understands your vision but also makes you feel comfortable in front of the lens—someone who delivers beautiful, high-quality images you'll be proud to share and cherish for years to come.
In this guide, we’ll break down how to find a great photographer nearby using tools like Google, Yelp, and social media, what questions to ask before booking, and how to make sure their style, communication, and pricing align with what you need. Whether you’re in Southern California or traveling elsewhere, this guide will help you book with confidence and avoid the guesswork.

Finding a great photographer starts with knowing what to look for—gear is just part of the story. Let us guide you through it.
Whether you're planning a proposal, an event, or a creative shoot and just want to talk it through—we’re here for it. Book a free consultation and let's bring your vision to life together.
👉 Book a Free Consultation
1. Start with Google—but Use Smart Search Terms
Most people begin their search on Google or Google Maps. But it’s not just about typing “photographer near me.” Use more specific phrases to narrow your results and bring up photographers who specialize in what you’re looking for.
Try these smart search terms:
“Family photographer in [City Name]”
“Engagement photographer Temecula”
“Graduation photos in San Diego”
“Professional headshots Riverside County”
“Maternity photographer Palm Springs”
Then check out their:
Google Business profile for reviews, hours, and real client photos.
Map location to see if they’re local and willing to travel.
Ratings – don’t just look at the stars, read what people are actually saying.
2. Dive Into Instagram & TikTok
Photographers are visual creators—and Instagram and TikTok are their portfolios.
Search hashtags like:
#TemeculaPhotographer#SanDiegoMaternityPhotos#LosAngelesEngagementPhotographer#PalmSpringsBrandShoot
Tips to use social media wisely:
Save your favorite posts to build a style board.
Look at how they caption their work—are they storytelling or just snapping?
DM them directly to inquire about availability or packages.
3. Ask Your Community
Your best resource might be closer than you think. Ask people in your network or in your neighborhood groups for recommendations.
Where to ask:
Local Facebook groups (search “Temecula Moms” or “SoCal Creative Entrepreneurs”)
Reddit subs like
r/Temecula,r/SanDiego, orr/AskPhotographyWedding or parenting forums
When someone loves their photos, they’re usually excited to refer the person who made it happen.
4. Check Their Website & Portfolio Carefully
A photographer’s website should give you all the information you need at a glance: style, pricing, and contact options.
What to look for:
Style consistency: Do their edits feel light and airy? Moody? Editorial? Make sure it fits your vibe.
Types of sessions offered: Some photographers specialize in families, others in events, others in elopements.
Turnaround time: When will you get your photos?
Transparent pricing: Are the packages clear, or do you have to guess?
Bonus points if the website includes testimonials, a blog with helpful tips, or behind-the-scenes info about their approach.
5. Explore Photography Directories & Marketplaces
If you’re having trouble narrowing it down, browse listings on trusted marketplaces:
Thumbtack – filters by budget, reviews, and availability
The Knot or Zola – wedding-centric but great for engagement or couple shoots
Bark – lets you submit your needs and get matched with local pros
Peerspace – great for finding not only photographers but creative shoot locations
6. Go Beyond Digital—Visit Local Businesses
If you prefer something tangible, visit local:
Coffee shops
Boutiques
Art walks or markets
Photographers often leave business cards or flyers at these spots—or may be the official photographer at the event.
Also, check out:
Event venues
Wineries and breweries
Florists and picnic set-up vendors (they often collaborate with photographers and can refer great ones)
7. Ask These Questions Before Booking
Once you’ve found a few photographers, schedule a quick phone call or Zoom. You’ll want to see if they’re the right fit both professionally and personally.
Questions to ask:
What’s your experience with [type of session]?
Can I see a full gallery of a recent shoot?
How many images are included, and are they high-resolution?
Do you provide guidance on posing or styling?
Do you offer location suggestions or help with permits?
What’s your editing style and turnaround time?
Do you offer prints, albums, or reels?
It’s not just about hiring a camera—it’s about working with someone who puts you at ease and elevates your vision.
8. Book Early—Especially for Busy Seasons
Photographers book out fast for:
Spring (Mother’s Day, graduation, spring minis)
Fall (family photos, engagements, holiday cards)
Weddings and elopements (year-round, but especially summer-fall)
If you see someone’s work you love, don’t wait—reach out and ask about their availability. Many also offer flexible packages for last-minute sessions.
9. Bonus Tip: Trust Your Gut
Sometimes you just click with a photographer. Maybe it’s their style, the way they make you feel during a conversation, or how excited they are about your shoot idea.
Trust that intuition.
Whether you're planning a proposal, an event, or a creative shoot and just want to talk it through—we’re here for it. Book a free consultation and let's bring your vision to life together.
👉 Book a Free Consultation
Final Thoughts
Finding the perfect local photographer doesn’t have to be overwhelming. With a clear plan, smart search strategies, and a little curiosity, you can discover someone whose style, personality, and professionalism align with your vision. Whether you're documenting a once-in-a-lifetime proposal, capturing family milestones, or refreshing your personal brand, the right photographer will make all the difference—not just in the photos, but in the entire experience.
Start Your Journey With Us Here

How to Pose for Graduation Photos (Even If You’re Camera Shy)
Posing for graduation photos doesn’t have to feel awkward—even if you’re camera shy. In this blog, we share expert tips and pose ideas designed to help high school seniors and college graduates feel confident and look natural in every shot. Whether you’re planning your graduation photography session at UC Riverside, Cal Baptist, SDSU, Chapman University, Mount Rubidoux, Sunset Cliffs, or a local high school like King High, Redlands High, or Santa Monica High, this guide offers practical strategies for capturing stunning cap-and-gown portraits across Southern California. Learn how to pose with ease, use natural movement, and incorporate props like your diploma or cap toss for meaningful images. Plus, see how our Milestone Graduation Package makes the entire process stress-free—complete with posing guidance, beautiful lighting, and personalized locations in Riverside, San Bernardino, San Diego, Orange County, and Los Angeles.
Tips, Confidence Boosters, and Posing Ideas for Graduation Photography in Southern California
Let’s be honest—not everyone feels natural in front of the camera. Maybe you’re the kind of person who blinks in every group shot or stiffens up when someone points a lens your way. But graduation is a once-in-a-lifetime milestone, and your senior portraits should reflect your personality, confidence, and sense of accomplishment—even if posing doesn’t come naturally.
As full-time photographers specializing in graduation photography across Riverside, San Diego, Orange County, Los Angeles, and San Bernardino, we work with grads from every background—some who love being photographed, and others who need a little extra encouragement.
If you’re feeling nervous about your shoot, this guide is for you. We’re sharing exactly how to pose for graduation photos (even if you're camera shy), plus expert tips for natural movement, facial expressions, and how to feel confident in every frame.

Whether it's a birthday, anniversary, graduation, or a personal win—our Milestone Package is designed to help you slow down and savor life's big (and small) moments. Let’s turn your milestone into something you can look back on forever.
👉 Explore Milestone Package
Why Posing Matters in Graduation Photography
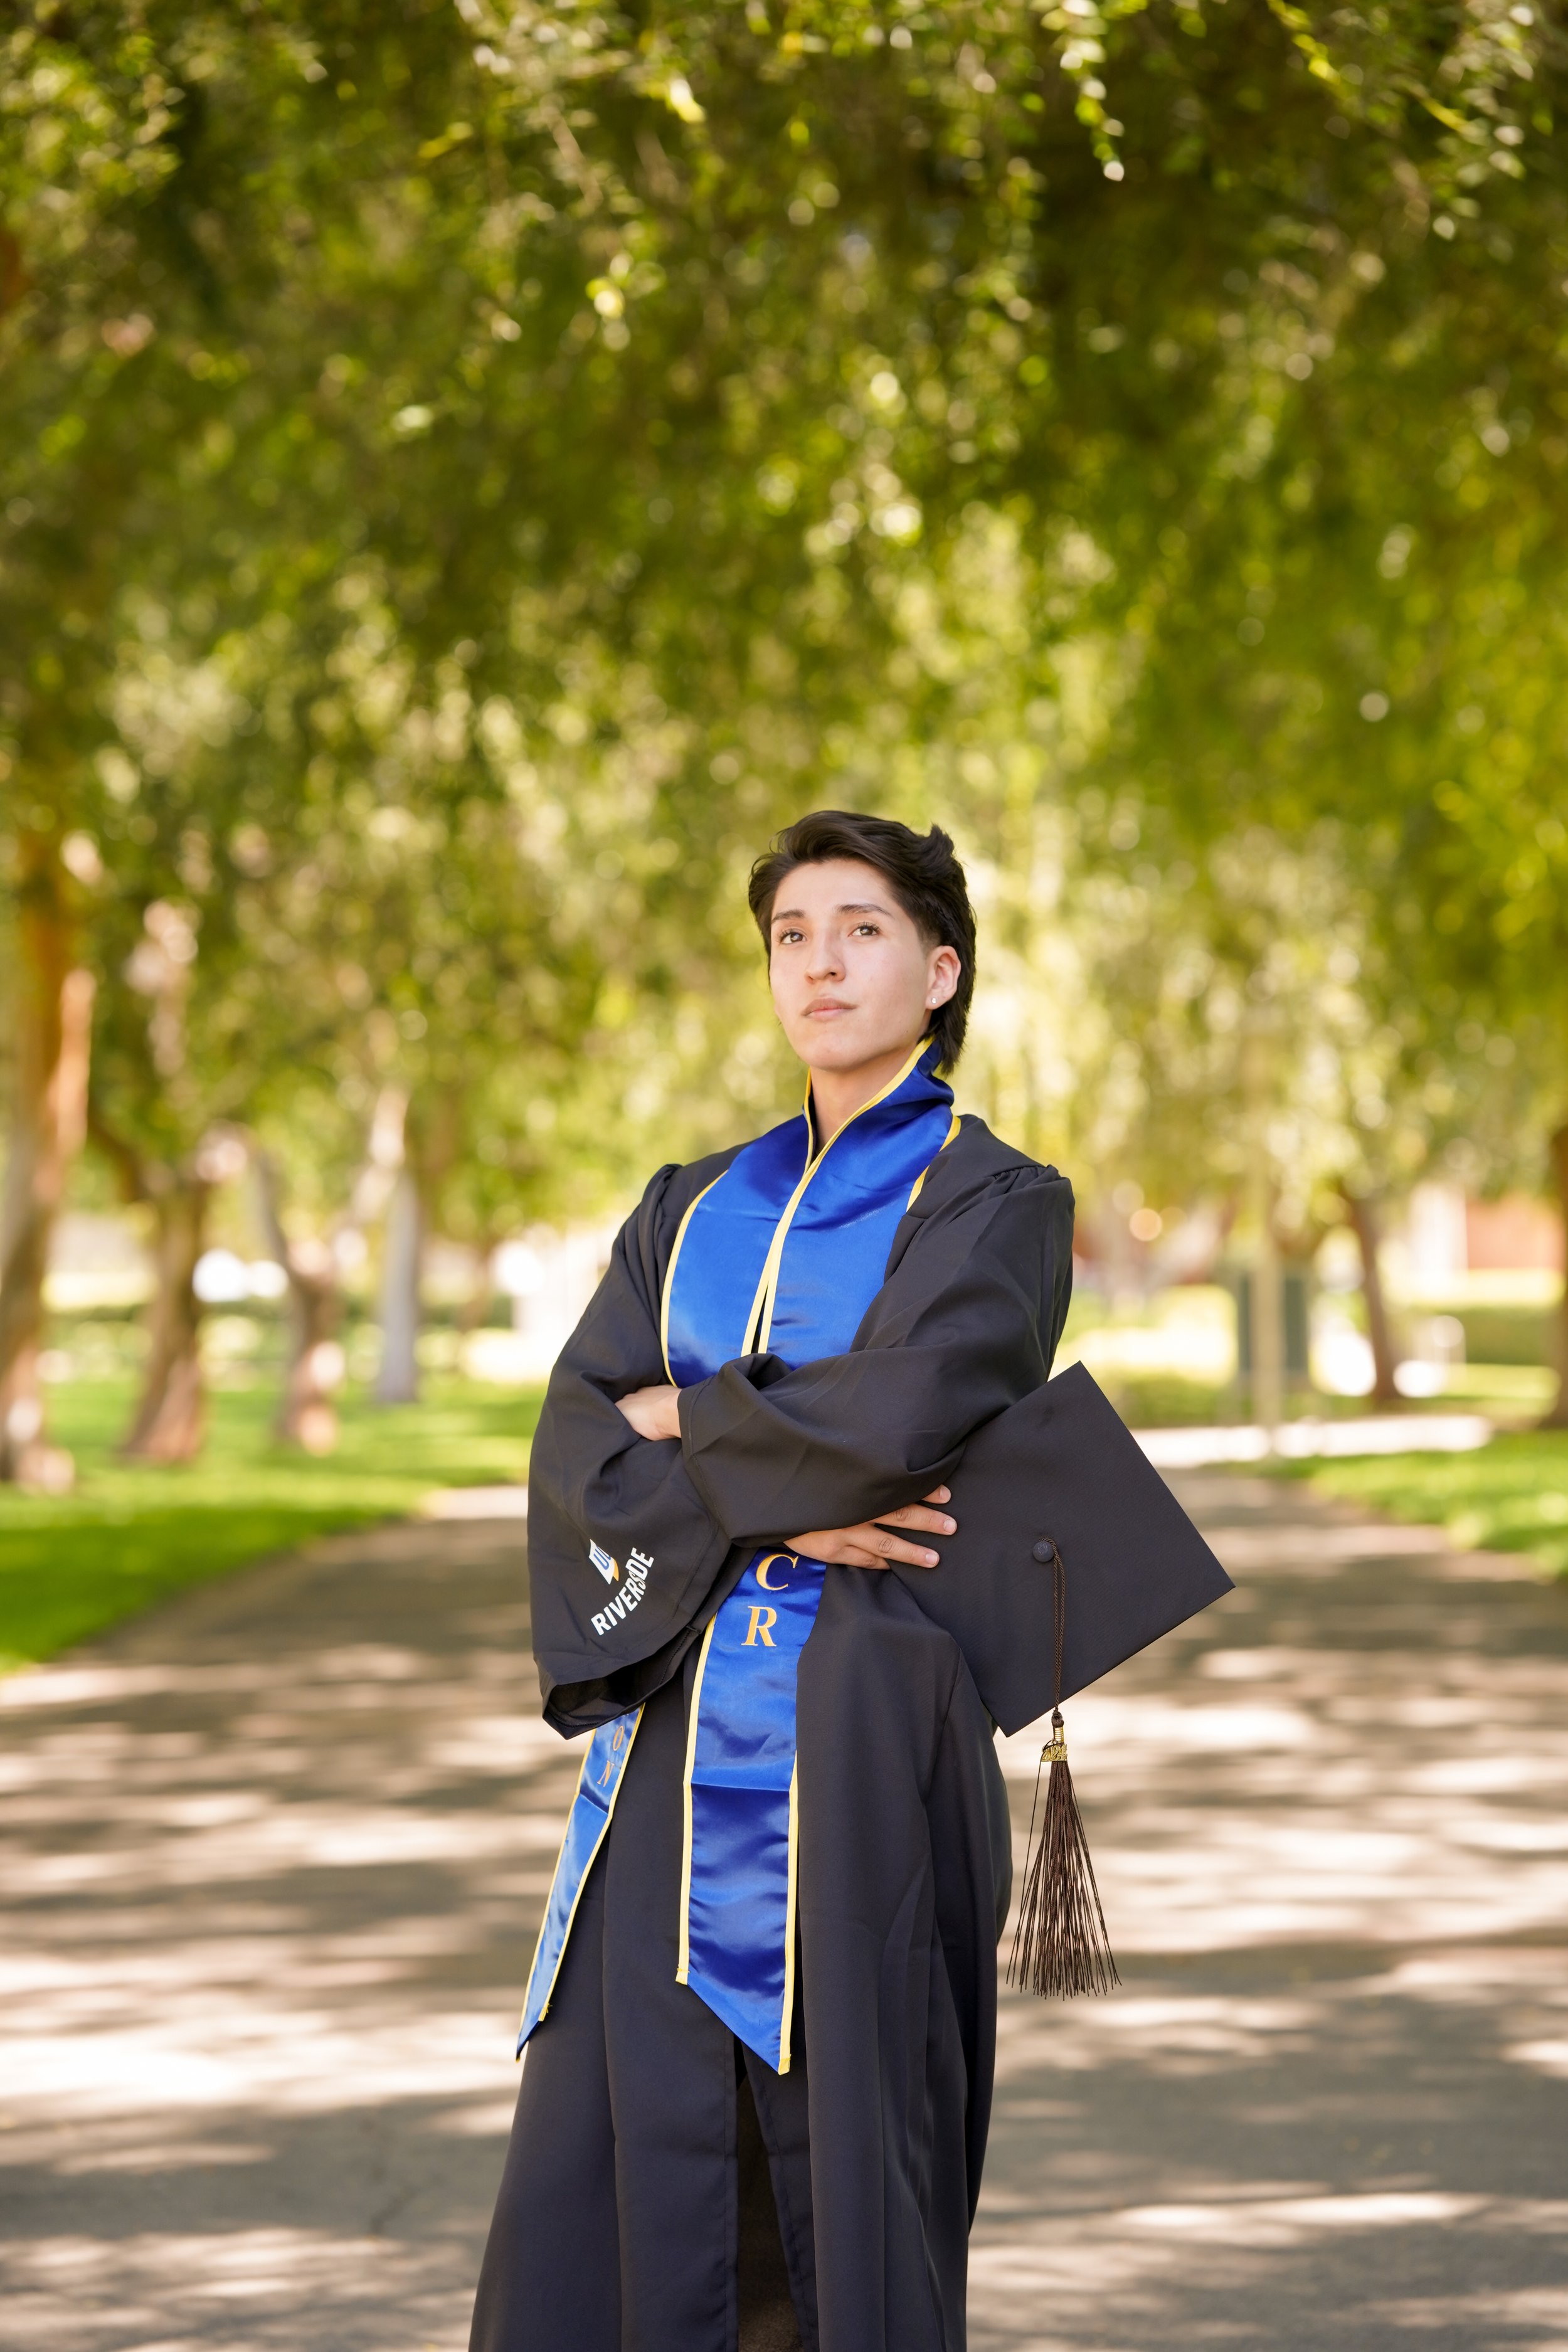
Graduation portraits do more than show you in a cap and gown—they document a major life milestone. The right poses help tell your story visually. Whether it’s a proud power pose, a casual candid moment, or a joyful jump mid-champagne spray, each frame should feel like you.
But don’t worry—you don’t have to be a model to look amazing in your senior session. With the right guidance and photographer, posing becomes less about perfection and more about connection and emotion.
Confidence-Boosting Tips Before Your Session
1. Choose a Comfortable Outfit (and Bring a Backup)
Confidence starts with comfort. Choose clothing that fits well and makes you feel like your best self—whether that’s a dress, suit, jeans, or something more expressive. Bring your cap and gown, and consider a second look that reflects your style or future path (like a college sweatshirt, work uniform, or cultural attire).
2. Practice Facial Expressions in the Mirror
Yes, seriously. Practice your smile. Try a soft grin, a confident smirk, and a natural laugh. This helps you become more aware of how your face feels when it’s relaxed—and that awareness will help you feel more in control on shoot day.
3. Trust the Process
We guide every pose from head to toe. We’ll coach you through angles, hand placement, posture, and movement so you never feel awkward or stuck.
Graduation Poses for Camera-Shy Seniors
1. The “Walking Toward the Camera” Shot
A go-to pose that looks great on everyone. Walking gives your body natural motion and allows for relaxed expressions.
How to do it:
Look slightly off-camera, swing your arms lightly, and take slow steps. We’ll capture mid-motion shots that feel effortless and authentic.
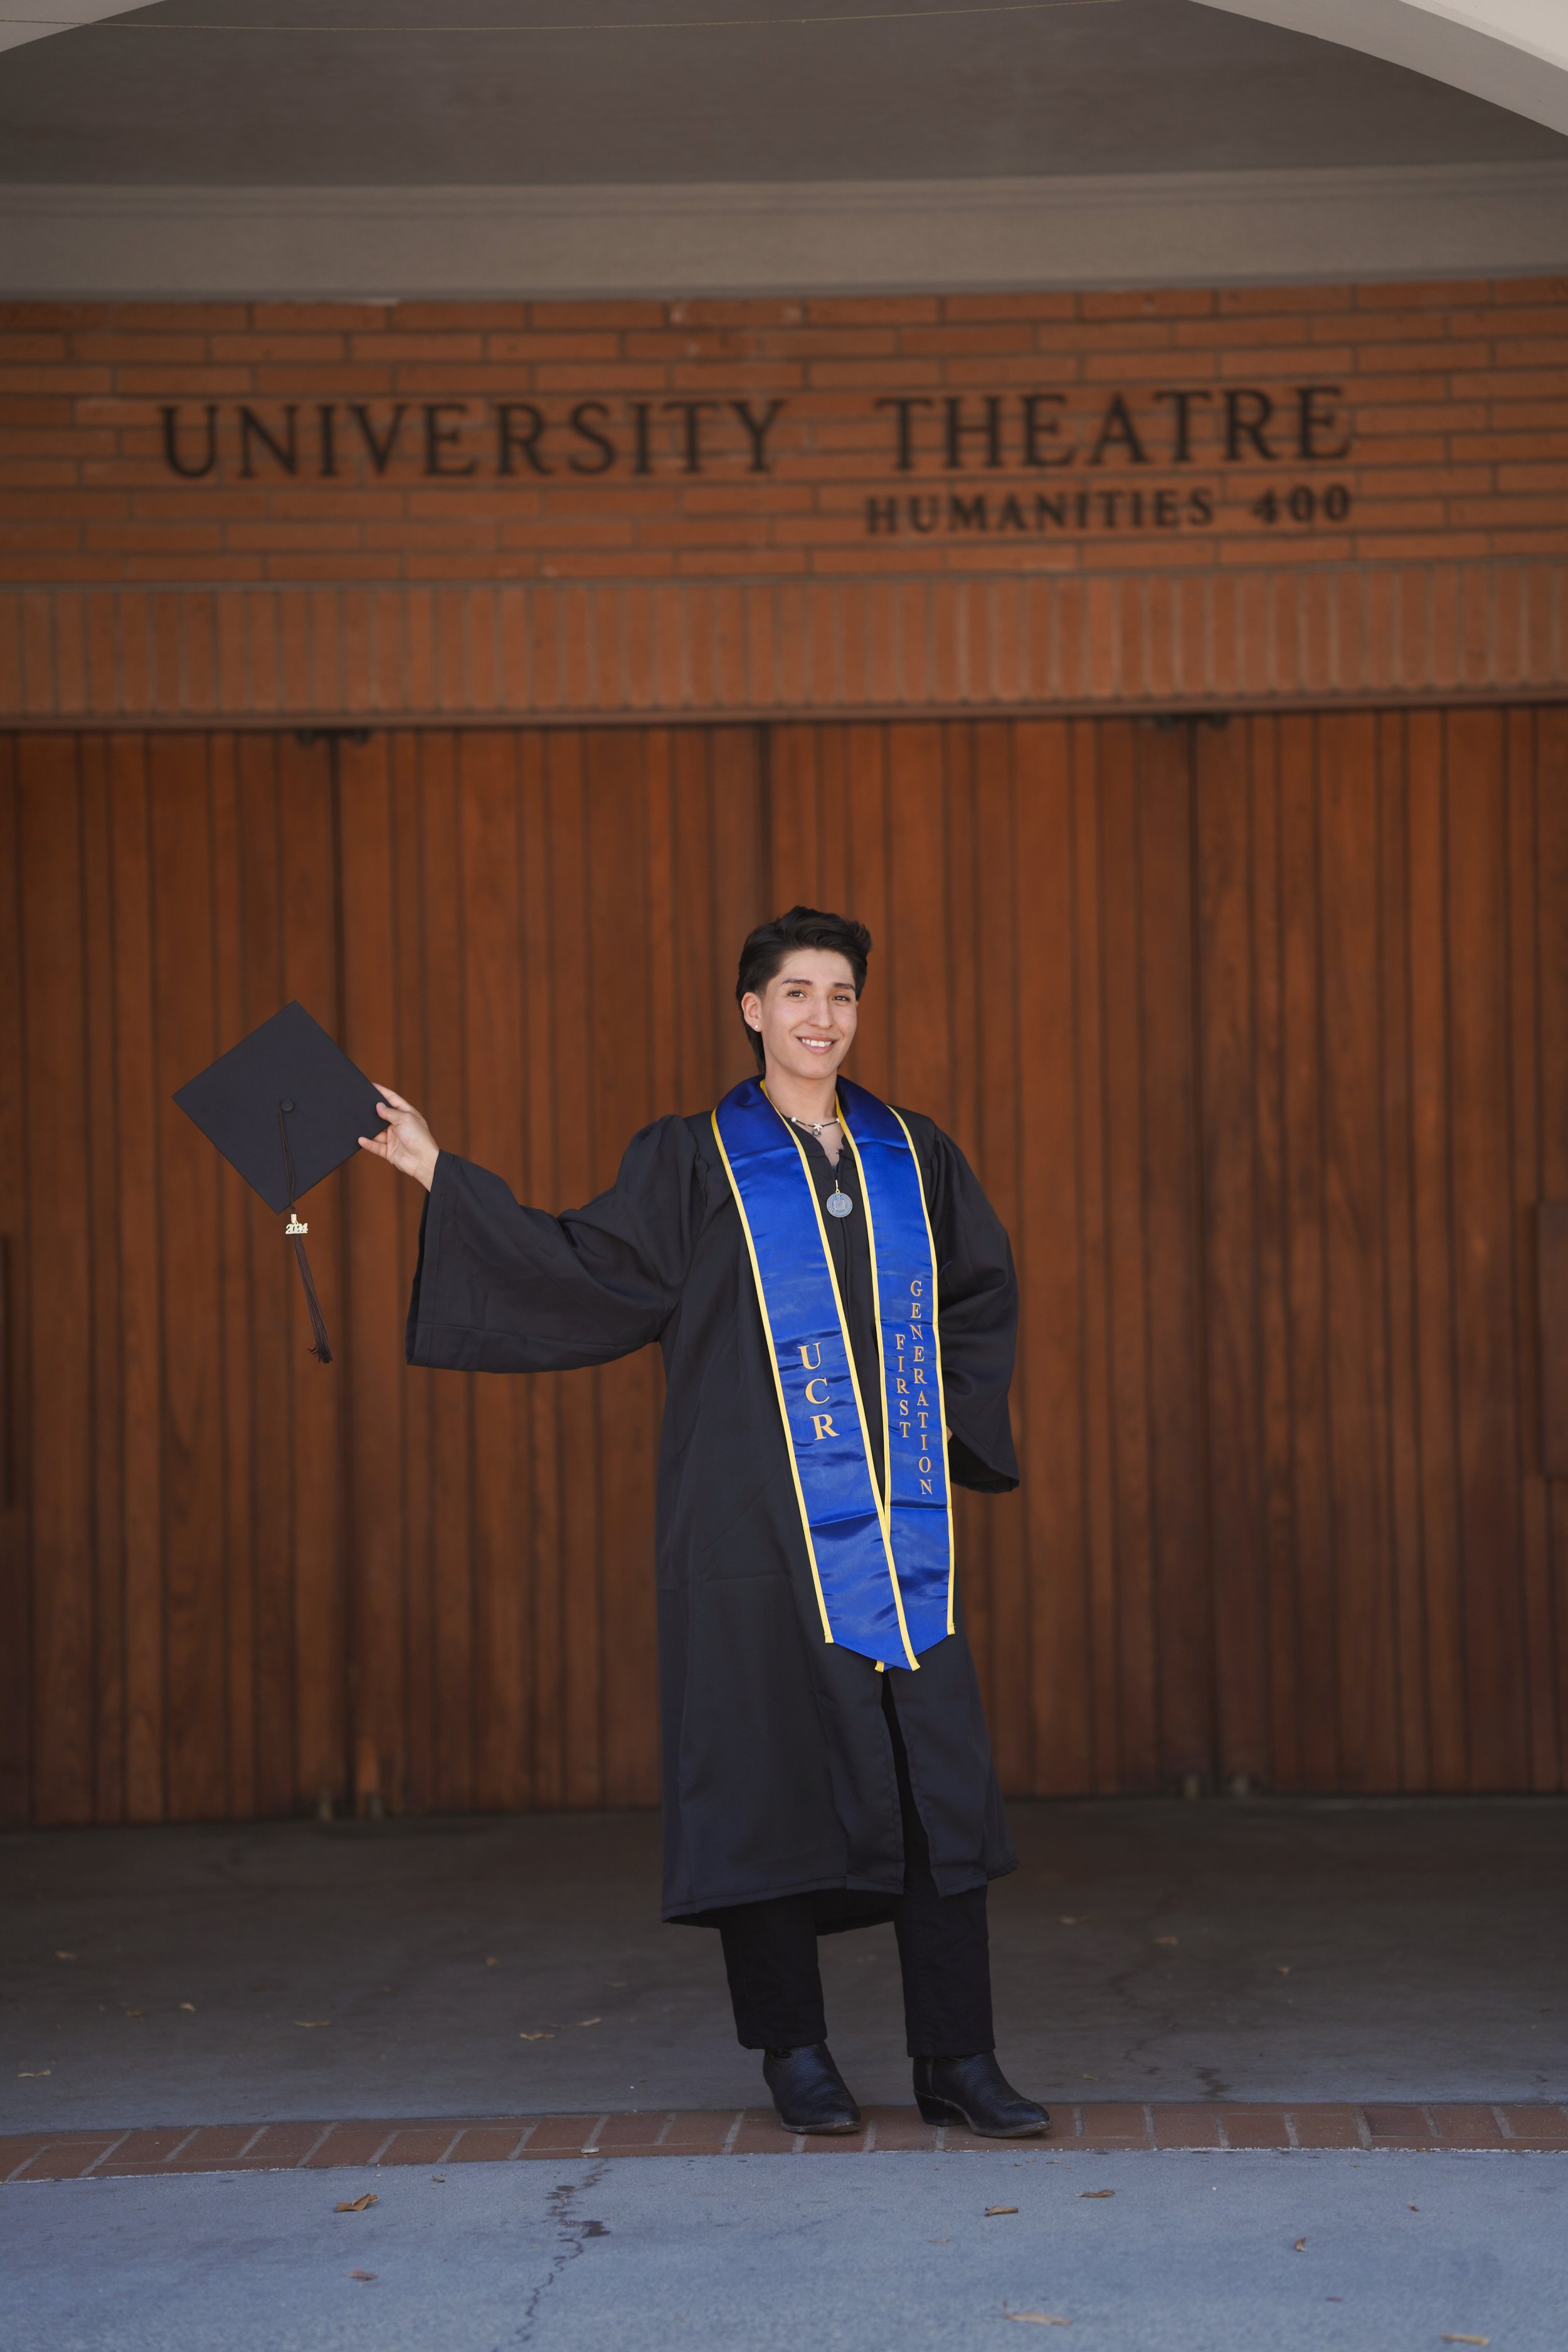
2. The “Hold the Cap and Look Ahead” Pose
This symbolic pose shows you looking toward the future. It feels meaningful but doesn’t require any dramatic expressions.
How to do it:
Hold your cap in one hand at your side. Look straight ahead with a soft smile—or glance down for a thoughtful variation.
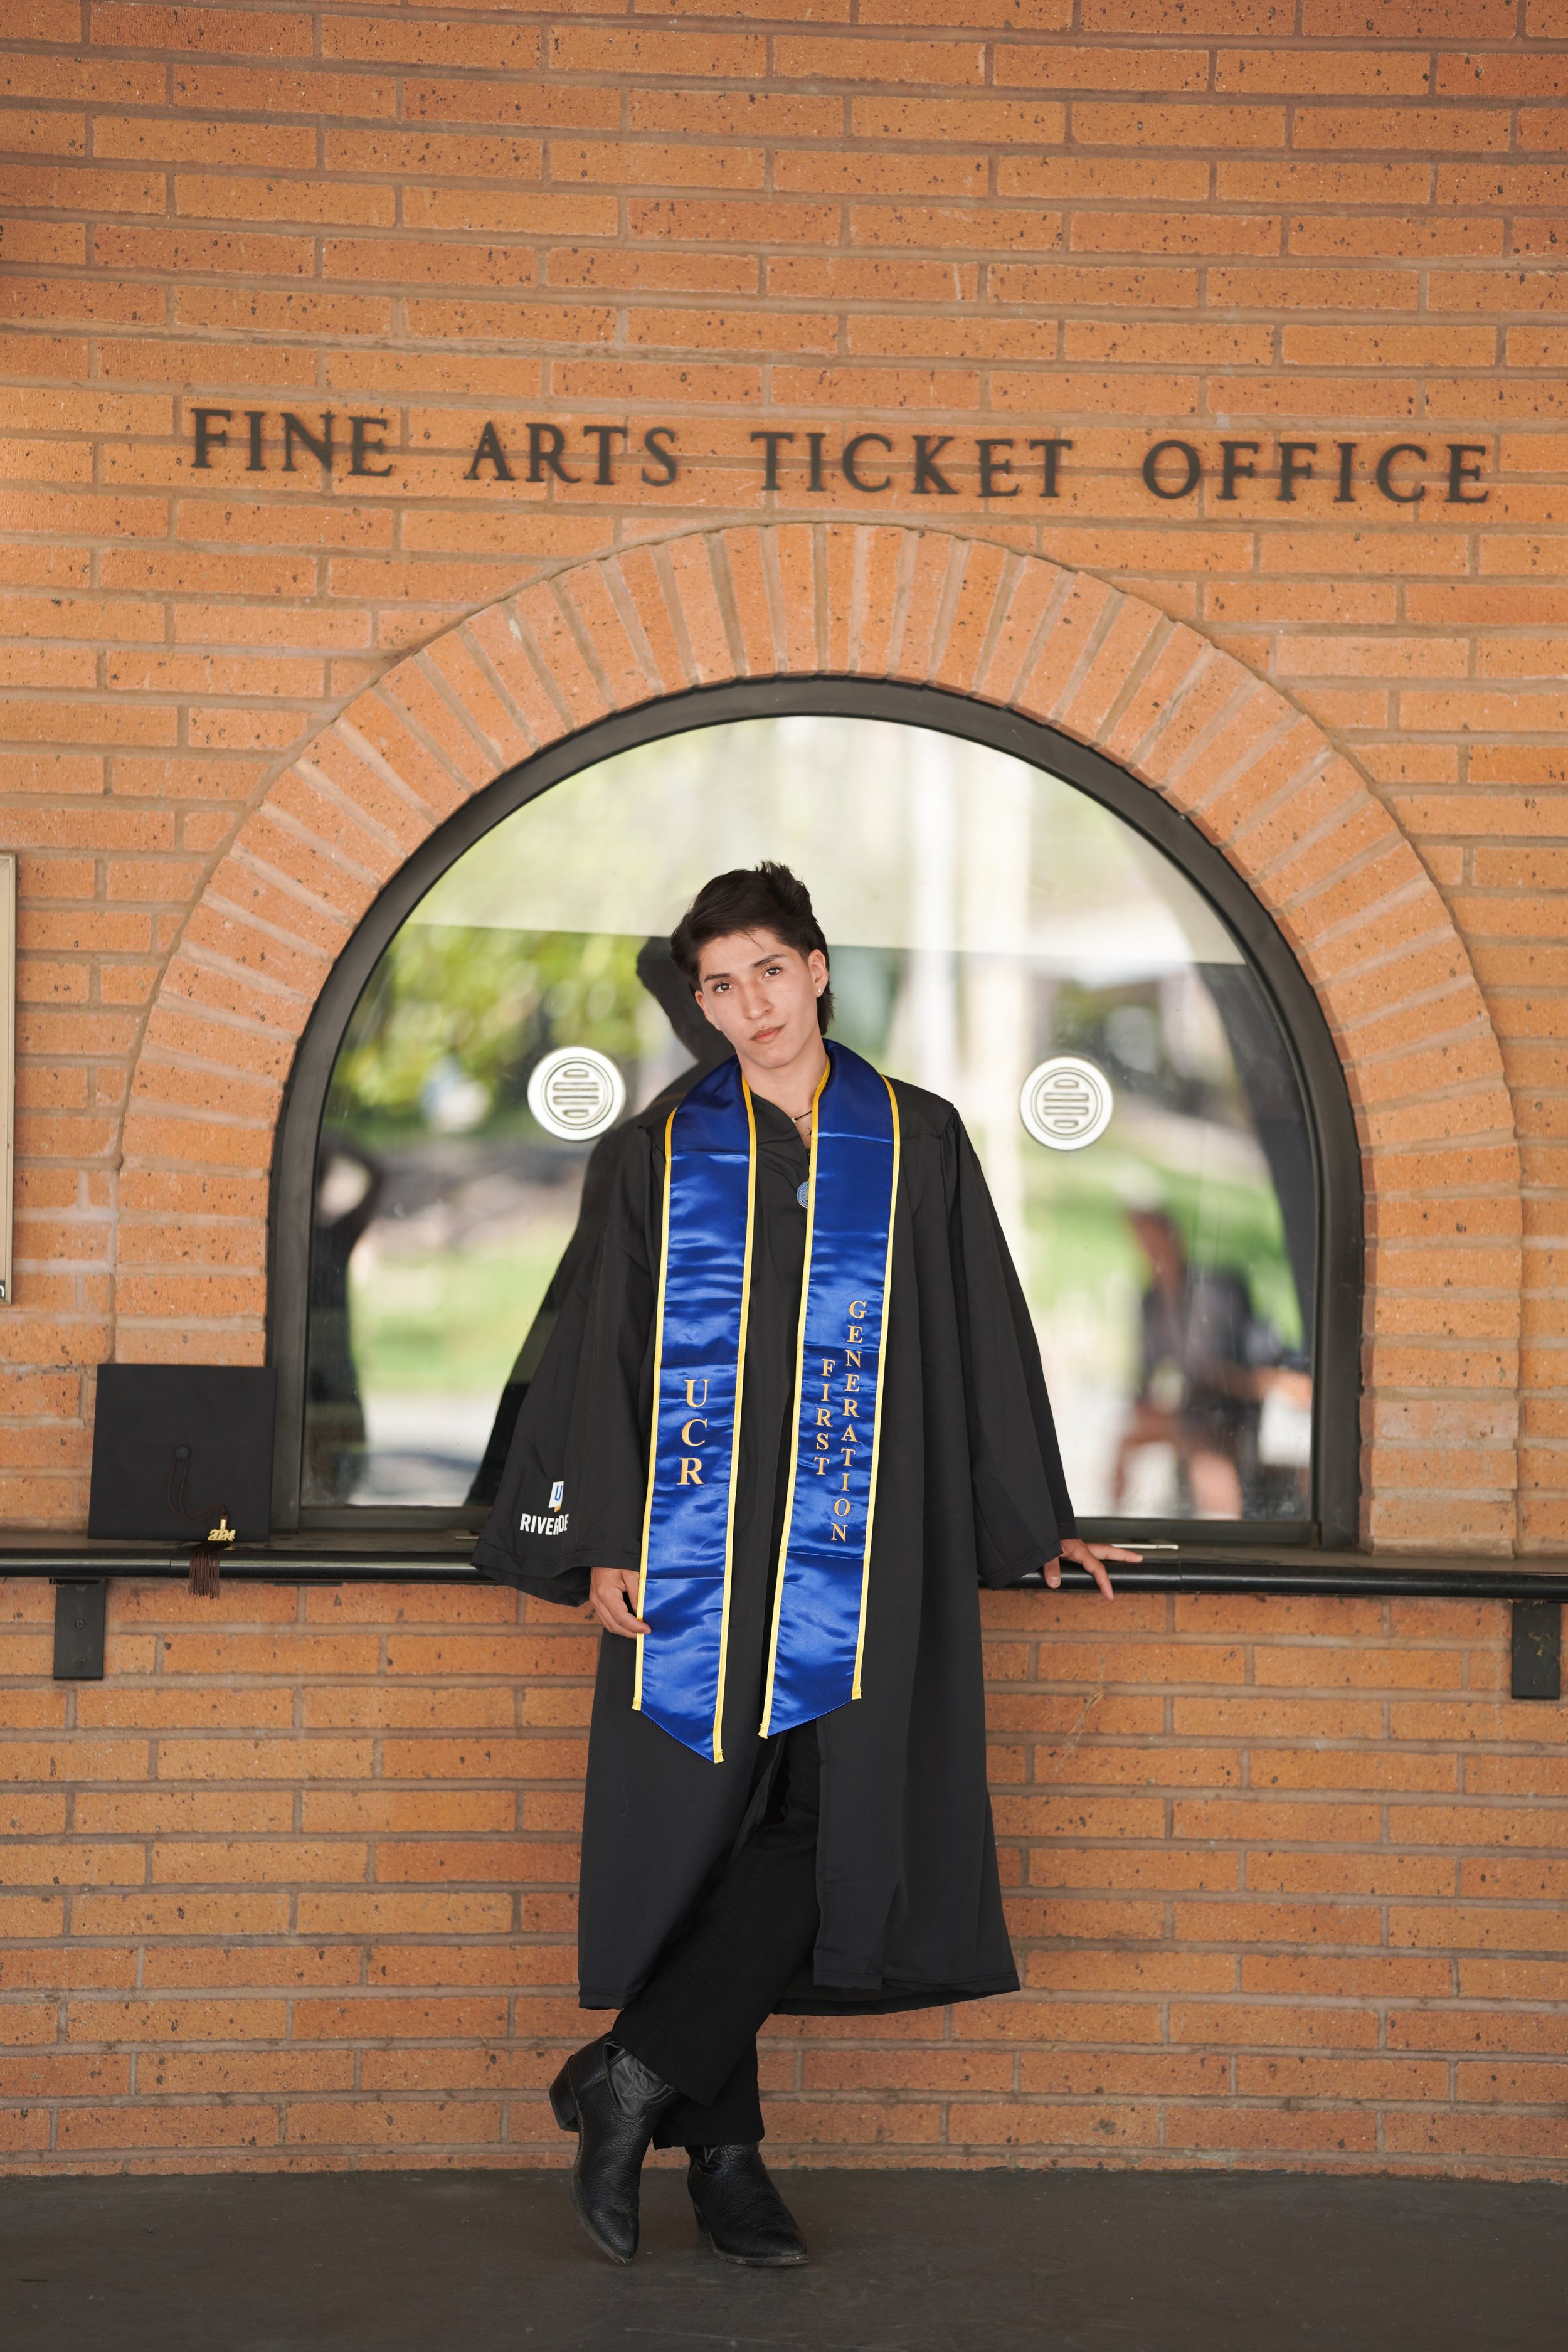
3. Leaning or Sitting Poses
Ideal for those who feel stiff when standing. Using a bench, ledge, or wall to lean or sit creates more grounded, relaxed portraits.
How to do it:
Cross one leg over the other, lean back on your hands, or rest your elbow on a knee. These poses create natural lines and soften tension.
4. Candid Laughing or Over-the-Shoulder Look
Perfect for camera shy grads because it feels less posed. These shots capture real emotion and warmth.
How to do it:
We’ll prompt you with a funny question or story and snap when you laugh or smile naturally. For over-the-shoulder, just turn your body slightly away and glance back—easy and flattering.
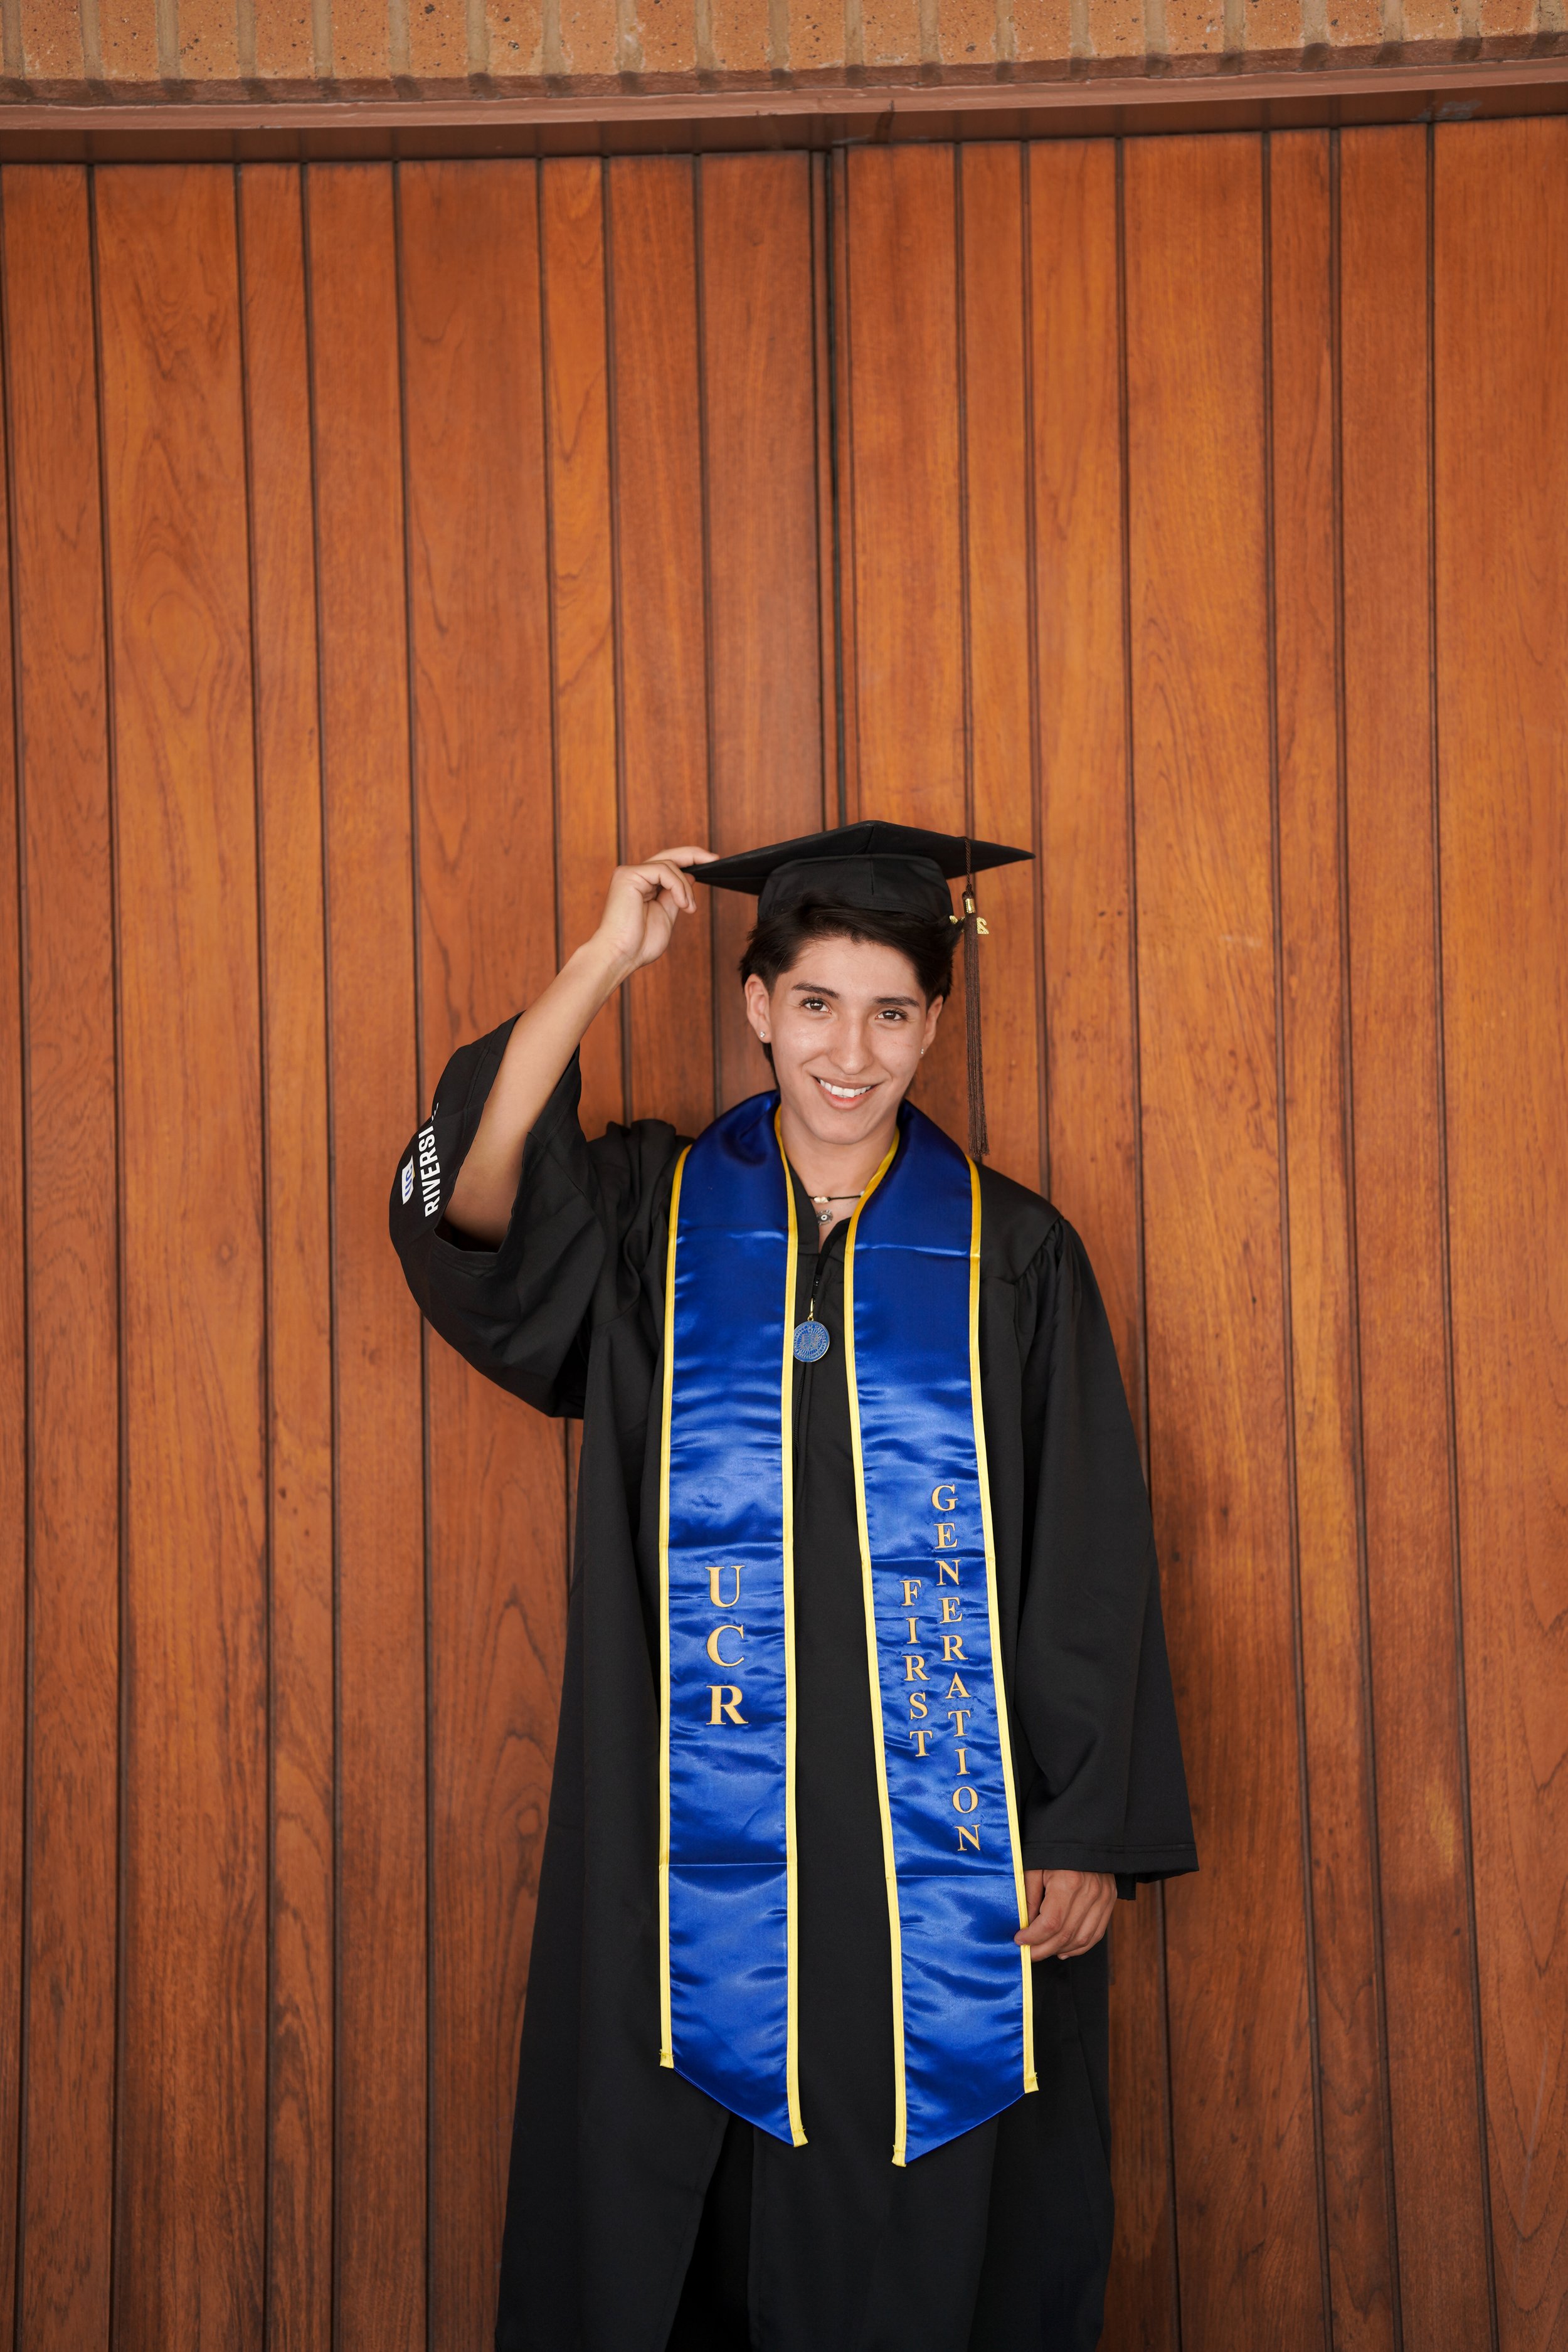
5. The “Cap Toss” or “Champagne Spray”
Full of energy and movement, these shots are all about joy and celebration—not about getting the pose just right.
How to do it:
Throw your cap, pop your bottle, and enjoy the moment. These images shine with emotion, not polish.
Location-Specific Pose Ideas in Southern California
Riverside
At UC Riverside, try walking confidently in front of the Bell Tower or sitting on the campus steps holding your diploma.
In Downtown Riverside, lean against the courthouse columns for a power pose or sit on the steps in formalwear.
San Bernardino
Prospect Park’s citrus groves are great for seated poses on vintage crates or standing between rows.
Mount Rubidoux offers dramatic silhouettes at sunset—perfect for cap tosses and celebration poses.
San Diego
Sunset Cliffs? That’s your spot for slow walks along the edge and soft smiles framed by the ocean.
Balboa Park is perfect for over-the-shoulder looks through archways or leaning on railings for soft, elegant portraits.
Orange County
Laguna Beach backdrops allow for barefoot walking shots in the sand or sitting on the rocks with a champagne pop.
Yorba Regional Park is great for sitting on bridges or walking shaded paths lined with trees.
Los Angeles
At Griffith Park or near the Observatory, sit with your cap and look out toward the skyline.
Santa Monica Pier? Think bright, fun, and candid—perfect for casual shots and sunset silhouettes.
Final Tip: Relax, Move, and Breathe
You don’t have to “pose perfectly”—you just have to show up as yourself. The best graduation photos are the ones that reflect your real personality, not a frozen version of you trying to look a certain way. We'll direct you gently throughout, so your session feels more like hanging out and less like a photoshoot.
Bring It All Together with Our Milestone Graduation Package
Our Milestone Graduation Package is designed with comfort, creativity, and confidence in mind. We work one-on-one with grads who want beautiful, meaningful photos—even if they’re not sure how to pose or where to begin.
Here’s what’s included:
60 minutes of photography in Riverside or San Bernardino County (no travel fee)
Travel available to San Diego, Orange County, and Los Angeles (travel fee applies)
Two outfits (cap and gown + one personal style)
30+ high-resolution, professionally edited images
Delivered on a keepsake USB + online gallery preview
Full posing guidance throughout
Optional cap toss, champagne spray, or prop moment
We totally get it—sometimes you just want to talk it out first. If you have questions, want to go over the details together, or even want to tell us what you'd love to see more of on our blog—we’d love to connect.
👉 Fill Out Our Form to Connect
Ready to Feel Confident in Front of the Camera?
You deserve graduation photos that make you feel proud and empowered—whether you’re naturally camera-ready or need a little coaching. With expert posing help, relaxed direction, and the perfect golden light, we’ll make sure your session is as fun and unforgettable as your senior year.
Book your Milestone Graduation Package today and let’s capture the real you—beautiful, bold, and 100% ready for what’s next.